
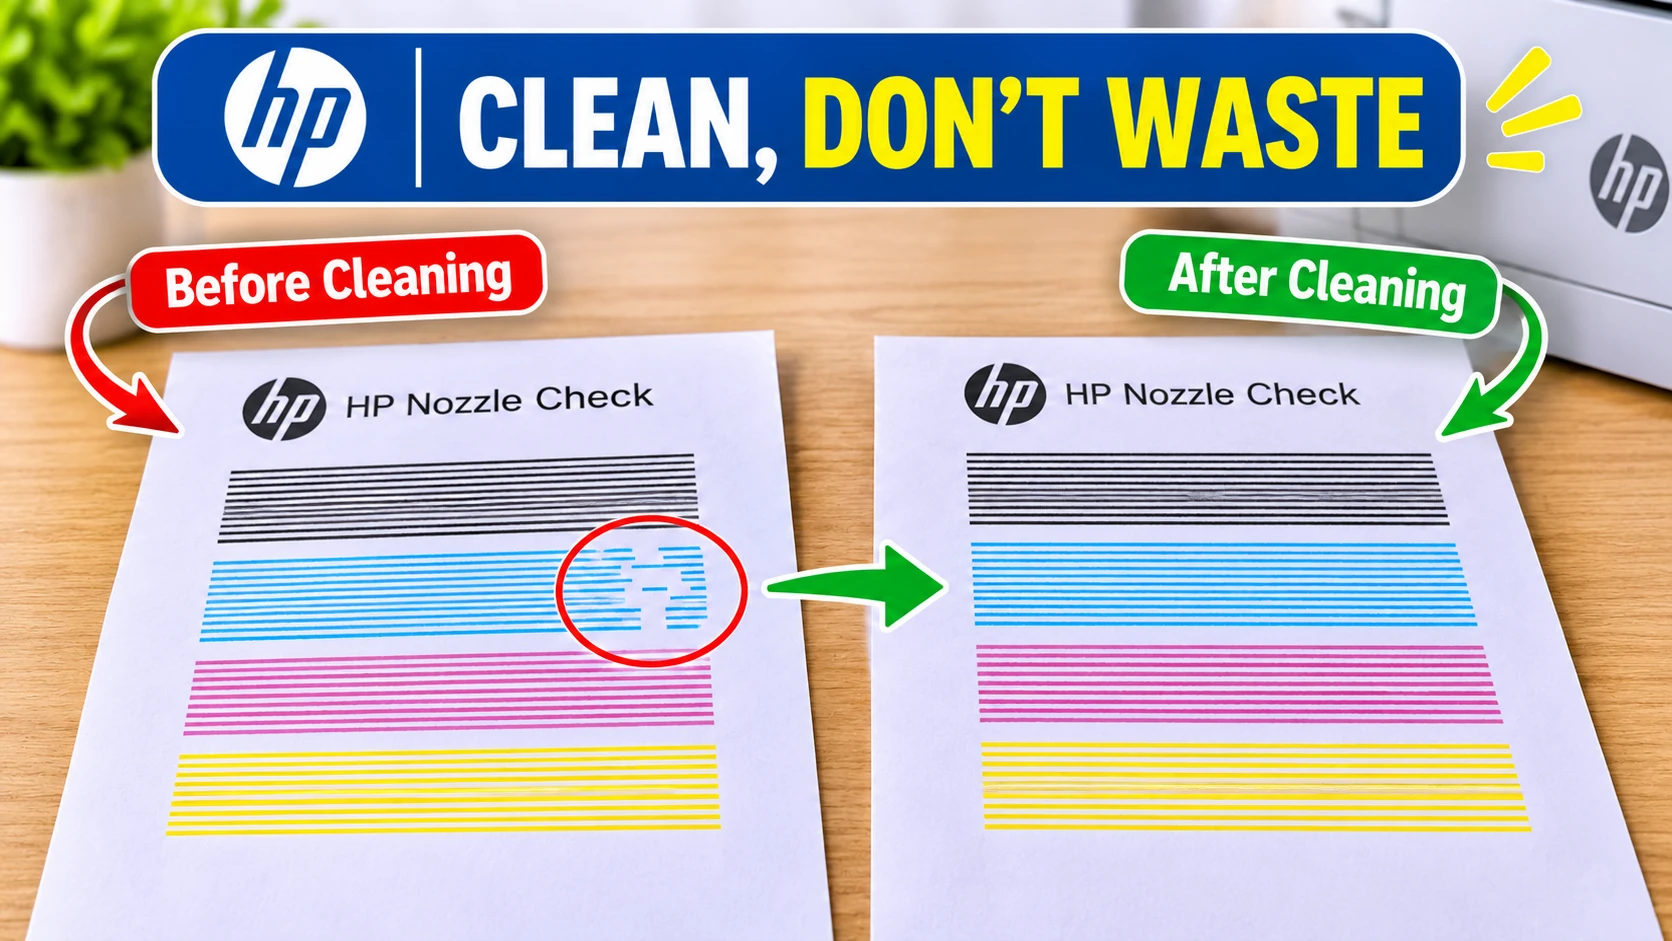
Your Epson printer has started producing streaky pages and you need to clean epson printer heads. Maybe there are white lines through the text, or the colours look wrong, or the photo of the grandchildren has come out with a green tinge.
Most of the time the print head isn’t damaged. A few of its tiny nozzles are blocked with dried ink or a trapped air bubble. The fix is a head clean, but there’s a right way to do it. Clean too often, too quickly, and you burn through ink without clearing anything. This guide follows Epson’s own order.
Which situation are you in?
|
What you see |
Most likely cause |
Go to |
|---|---|---|
|
White lines or gaps in text |
Some nozzles blocked |
Steps 1 and 2 |
|
One colour missing or wrong |
That colour’s nozzles blocked, or the tank is low |
Before you clean |
|
Still streaky after three cleans |
Ink needs time to soften |
Step 3 |
|
Smears or ink marks, not gaps |
A dirty paper path, not the head |
Smears aren’t a head problem |
|
Blank pages |
Settings, empty pages in the document, or badly blocked nozzles |
Our Epson blank pages guide |
Quick Answer
Print a nozzle check first. If it shows gaps, run a print head cleaning, then check again. Epson’s UK guidance is up to three cleans. If the pattern still isn’t perfect, turn the printer off and leave it for at least 12 hours before trying again. Power Cleaning uses far more ink, so save it for when standard cleans haven’t worked.
Important Note: Epson advises against running lots of cleanings in a short time. Every clean uses ink, and repeated cleans close together waste it without giving dried ink time to soften.
Before You Clean
Two quick checks stop you cleaning a head that doesn’t need it.
-
Check the ink. On an EcoTank, look at the tanks: Epson says they should be above the lower line. On a cartridge printer, check the levels on screen or in the software. Low ink makes cleaning less effective.
-
Check for errors. Epson says not to clean while the printer is showing a hardware error. Sort that out first.
Load a few sheets of plain A4 paper. You’ll need them for the nozzle checks.
Note Worthy: I always print a nozzle check before I clean anything. Real-life example: the “faded” photo turns out to be the photo paper loaded the wrong way round, and the pattern prints perfectly.
Step 1: Print a Nozzle Check
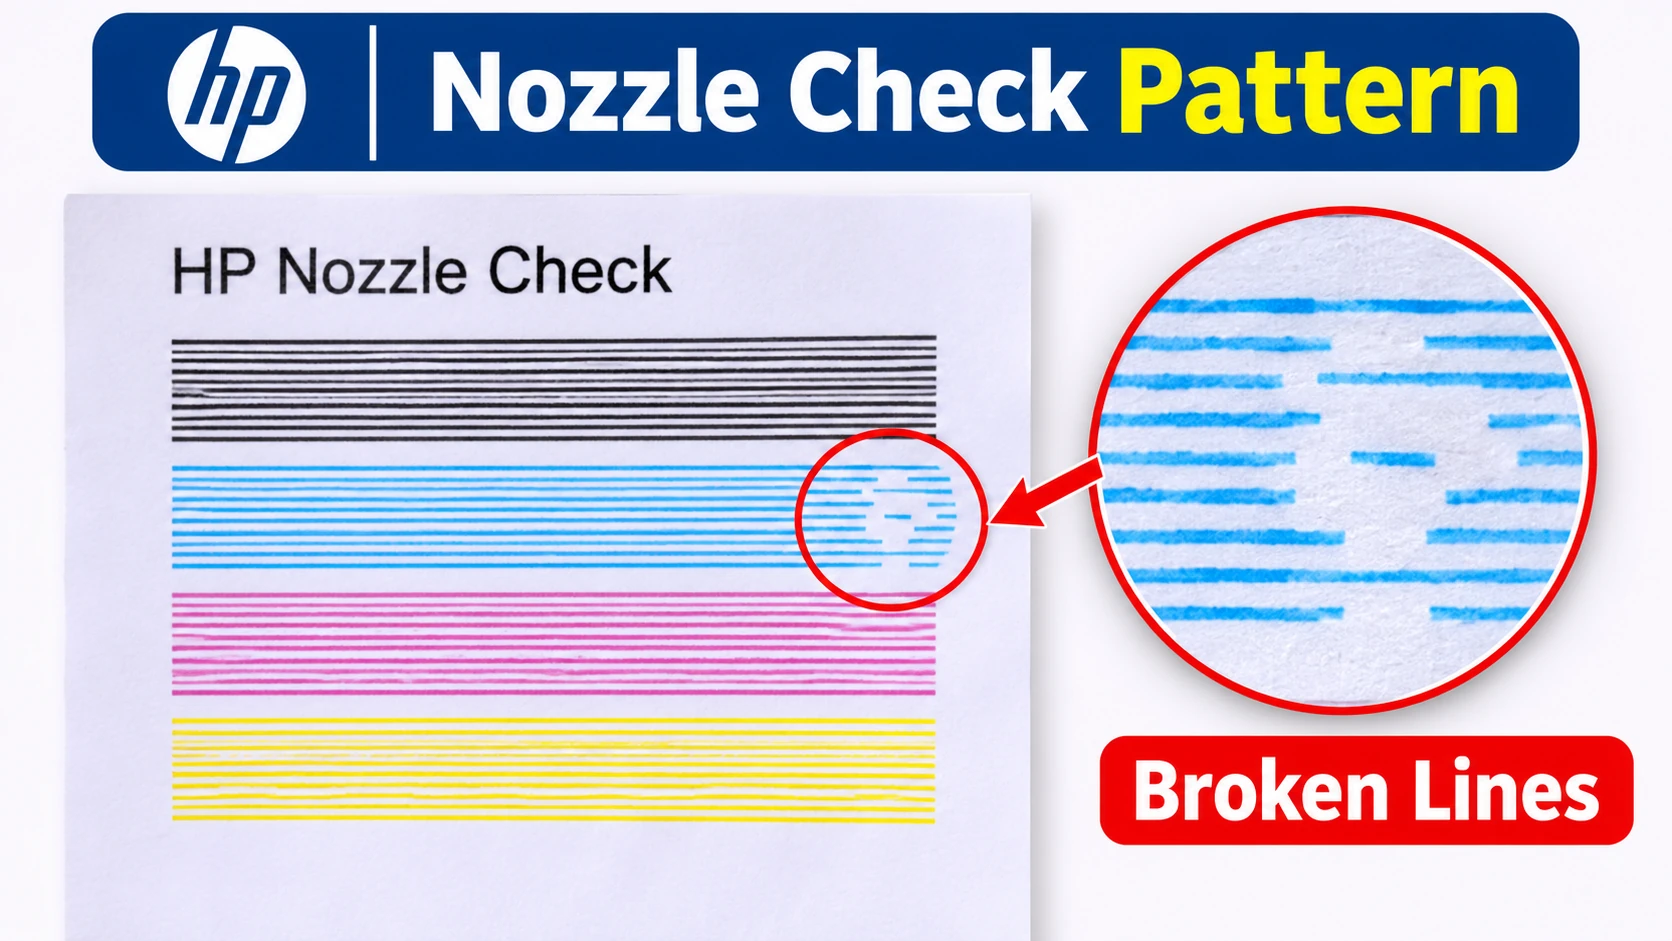
The nozzle check prints a small grid of lines in each colour. Gaps or broken lines show exactly which colours are blocked.
You can run it in three ways:
-
On printers with a screen: go to Maintenance, then Nozzle Check, and follow the screen.
-
On Windows: open your printer’s Printing Preferences, then the Maintenance tab, then Nozzle Check.
-
On a Mac: open the Epson Printer Utility from your printer’s settings, then Nozzle Check.
Button-only models also have a nozzle check, using a button combination. It’s listed in your model’s user guide.
Tip: Look at the pattern in good light, ideally daylight. Thin gaps are easy to miss under a dim lamp.
Step 2: Clean the Print Head (Up to Three Times)
-
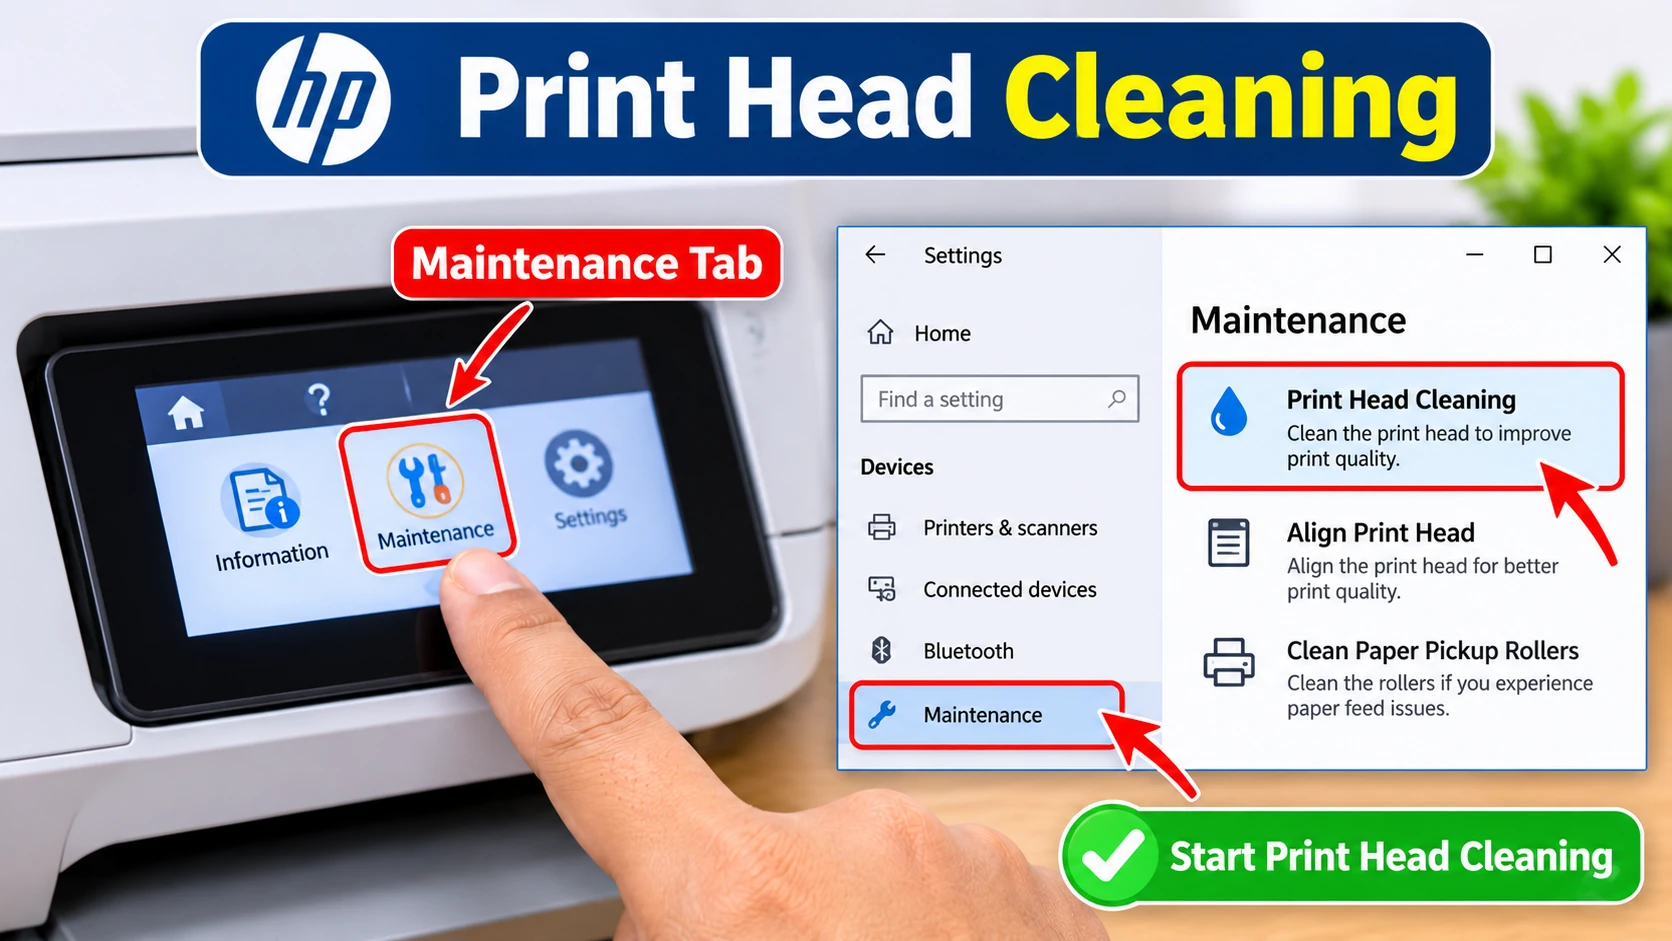
Start Print Head Cleaning from the same place as the nozzle check (Maintenance, then Print Head Cleaning).
-
Wait for the printer to finish. Don’t open the lid or switch it off while it’s cleaning.
-
Print another nozzle check.
-
Still gaps? Clean again. Epson’s guidance is up to three cleans, checking the pattern each time.
If the pattern gets better with each clean, you’re on the right track. If nothing changes at all, go to Step 3 rather than cleaning a fourth time.
Note Worthy: I write the time on the nozzle check printouts. When I’m on the third clean, I can see straight away whether the lines are getting better or not changing at all.
Step 3: Turn It Off and Wait 12 Hours
This is the step most people skip, and it’s often the one that works.
-
Turn the printer off with its power button.
-
Leave it for at least 12 hours. Epson says the wait lets trapped air escape and dried ink soften.
-
Turn it back on and print a nozzle check.
-
If there are still gaps, run one more clean and check again.
Note Worthy: I run the third clean last thing at night, then switch the printer off. Real-life example: by breakfast the 12 hours are nearly up, and the first nozzle check of the day often comes out clean.
Step 4: Power Cleaning (Last Resort)
Some Epson models have Power Cleaning (also called Power Ink Flushing). It’s a deep clean that pushes much more ink through the head.
-
Epson says to use it only after several standard cleans haven’t worked.
-
Epson’s UK guide says the ink should be at least a third full before running it.
-
Start it from Maintenance on the printer or in the software, then print a nozzle check afterwards.
If your model doesn’t have Power Cleaning, the 12-hour rest in Step 3 is the equivalent.
Smears Aren’t a Head Problem
If the pages have ink smears or rubbed marks rather than gaps, cleaning the head won’t help. Look at the paper settings, the paper itself and the paper path instead. Our guide on why Epson printers keep jamming covers paper problems.
When to Stop
-
Three cleans, a 12-hour rest and (if available) a Power Clean haven’t fixed it.
-
The same colour stays completely blank on every nozzle check.
At that point, contact Epson UK through epson.co.uk. Don’t try to remove the print head or flush it with liquids from the internet. And never tilt an ink-tank printer to get ink moving; it can leak inside.
Summary
Clean an Epson print head in Epson’s order: nozzle check first, then up to three print head cleans with a nozzle check after each. If gaps remain, switch the printer off for at least 12 hours before trying again, and keep Power Cleaning as a last resort. Make sure the ink is above the lower line before you start, and don’t clean while the printer is showing an error.
Written by the Zoneswitch team. Steps checked against Epson UK’s print head cleaning guidance. Last updated: [November 2026].
Zoneswitch is independent and not affiliated with Epson or any printer manufacturer.
Sources
Related Articles
Frequently Asked Questions
Matt turns confusing printer and computer-peripheral problems into clear, step-by-step fixes that anyone can follow. He holds a master's degree in Applied Computer Science and is currently pursuing a PhD at the University of Manchester, and for the past seven years he has written practical solutions, drawn from his own hands-on experience, for readers who don't speak the jargon professionals use. Matt has worked with Zoneswitch for ten years, and he still measures every guide by one simple test: whether a reader can fix the problem on their own, first time.
Z Switch Editorial Team