
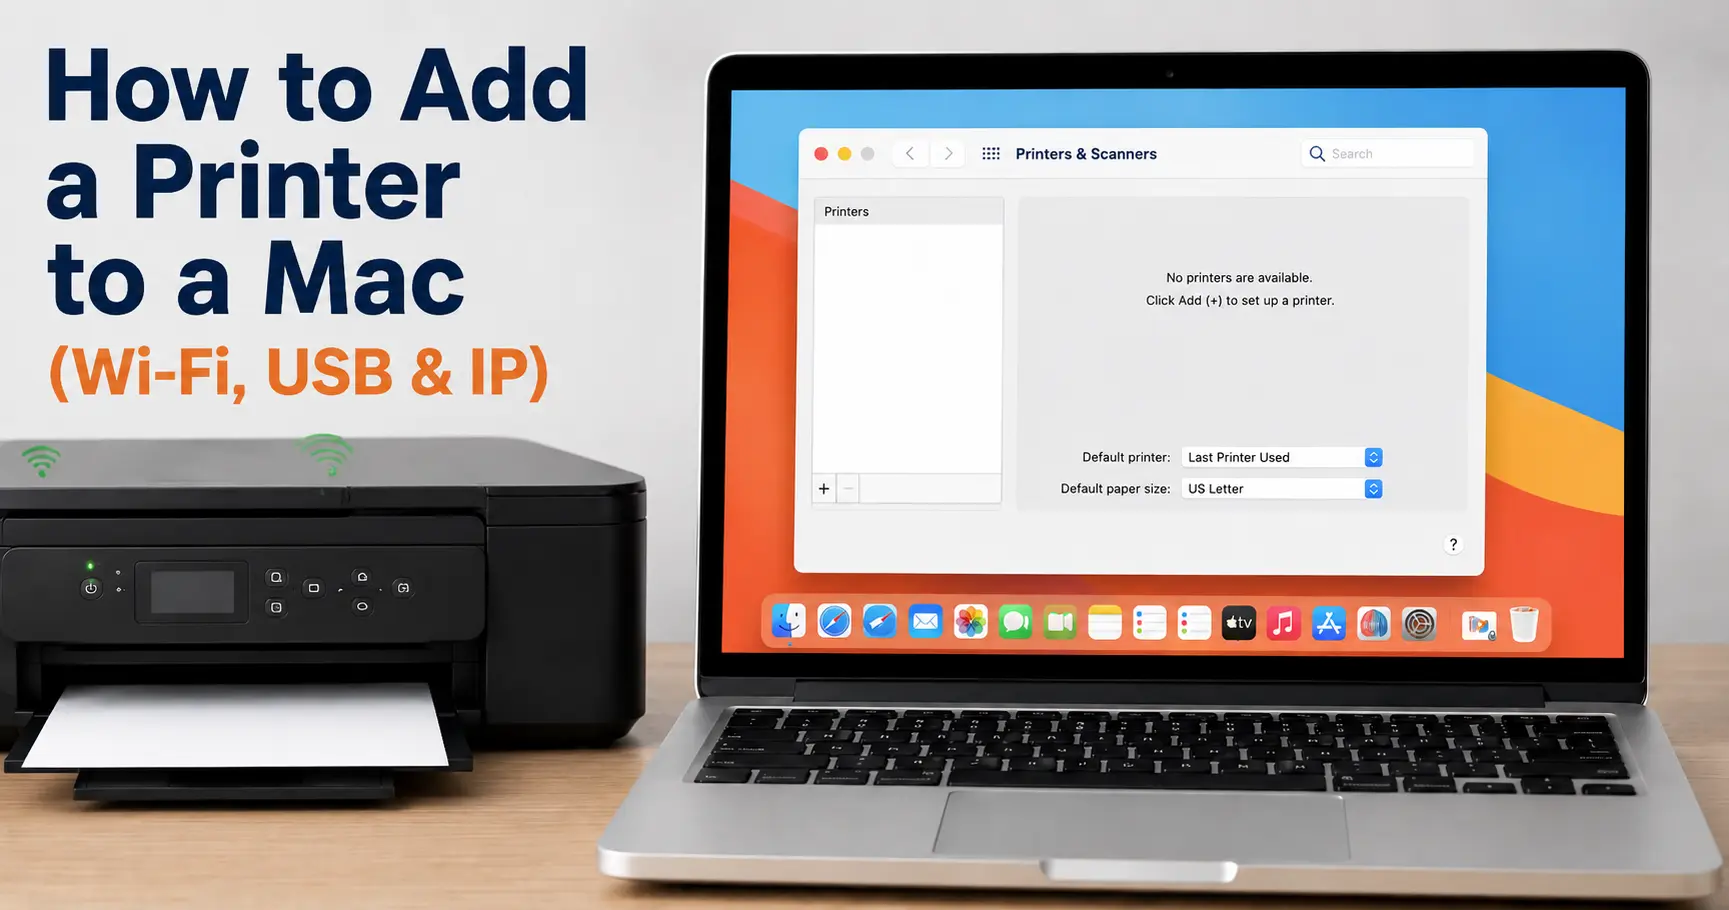
Open the Apple menu, choose System Settings, click Printers & Scanners in the sidebar, then click Add Printer, Scanner or Fax. Your Mac scans the local network and any USB connection, shows what it finds, and you click your printer and then Add. For a current printer that supports AirPrint and is already on your Wi-Fi, that is the whole job: no driver to download, done in under a minute.
The part that actually trips people up sits either side of that click. Before it, the printer has to be on the same network as the Mac, and macOS has to be allowed to look for it. After it, you have to pick the right entry when the same printer appears in the list two or three times. Almost every "my Mac won't find the printer" case is one of those, not a fault with the Mac or the printer itself.
One recent change is worth knowing before you start: since macOS Sequoia, apps need explicit permission to search your local network, and that permission can quietly drop during a macOS upgrade. It is now one of the first things to check, not a last resort.
(On Monterey or older, the location is System Preferences > Printers & Scanners and the button is a "+"; everything after that is identical.)
The quickest path: AirPrint over Wi-Fi
AirPrint is Apple's driverless printing standard: the printer tells macOS what it can do (paper sizes, duplexing, trays, ink levels), so the system prints to it correctly without a model-specific driver. Most inkjet and laser printers sold in the past decade support it.
- Get the printer onto your Wi-Fi first. Use the printer's own touchscreen if it has one. If it doesn't, the maker's phone app handles it (HP Smart, Canon PRINT, Epson Smart Panel, Brother Mobile Connect), usually by having your phone join a short-lived setup network the printer broadcasts. WPS (press the button on the router, then on the printer) still works on plenty of hardware too.
- On the Mac: Apple menu > System Settings > Printers & Scanners.
- Click Add Printer, Scanner or Fax.
- Stay on the Default tab and wait a few seconds. Your printer appears with "Bonjour" or "AirPrint" in the Kind column.
- Select it. Check that the Use menu reads AirPrint or Secure AirPrint.
- Click Add.
Here is the bit the tidy screenshots leave out: the same printer often shows up more than once. A typical all-in-one lists as plain "Bonjour", as "Bonjour Multifunction", and sometimes again with a raw IP address. Pick Bonjour Multifunction if you also want to scan from the Mac. Pick plain Bonjour/AirPrint if you only print. Leave the IP-address entry alone unless you set that address yourself and know it won't change.
If the printer never appears in the list, it is a discovery problem, which is the next section.
When the Mac can't see the printer
Work through these roughly in order. The first one is new enough that a lot of older guides skip it.
- Local Network permission. Go to System Settings > Privacy & Security > Local Network. Make sure the manufacturer's app (and anything else you print or scan through) is switched on. If the app isn't listed, quit it fully with Command-Q, reopen it, and go straight into "add printer" or "scan" so it prompts macOS for access.
- Same network, not the guest one. The Mac and printer must be on the same Wi-Fi name. Guest networks and separate "smart home" networks are deliberately walled off from your main devices.
- Client isolation. Some routers stop devices on the network from seeing each other. It is often on by default in the guest mode of ISP-supplied routers. Look for "AP isolation", "client isolation" or "allow devices to communicate" in the router settings.
- VPN. An active VPN on the Mac sends local-discovery traffic down the tunnel instead of onto your network. Disconnect it, add the printer, then reconnect.
- A mesh system or a range extender. These sometimes fail to pass along the Bonjour (mDNS) messages that carry printer discovery. During setup, put the printer and the Mac on the same node.
- The printer is asleep. Budget inkjets drop their Wi-Fi radio to a near-off state and take 10 to 20 seconds to answer. Tap a button on the printer, then run the scan again.
Still nothing? Add it by its IP address, which skips discovery entirely.
Adding a printer by IP address
This is the reliable fallback for an office printer that never shows up, a printer on a different part of the network, or a home printer that keeps going missing.
You need two things: the printer's IP address (print a network configuration page from its menu, or read it off your router's list of connected devices) and the protocol it speaks.
- In the Add Printer window, click the IP tab (the globe).
- Address: type the IP, for example
192.168.1.50. - Protocol:
| Protocol | Use it when | Notes |
|---|---|---|
| Internet Printing Protocol (IPP) | Default choice for almost anything modern | Carries status and ink levels back to the Mac |
| Line Printer Daemon (LPD) | IPP fails on an older network printer | Print-only, no status |
| HP Jetdirect / Socket | Legacy office printers and standalone print servers | Raw data to port 9100: fast, no feedback |
| AirPrint | Offered when the printer supports it over IP | Driverless, same as the Wi-Fi route |
- Queue: leave blank unless your IT team gave you a specific queue name.
- Use: choose AirPrint if it appears. Otherwise pick your model, or "Select Software" for a generic PostScript or PCL driver.
- Click Add.
Pair this with a DHCP reservation in your router, which ties the printer's hardware address to one IP for good. Add a printer by a raw IP with no reservation and it will break the next time the printer's address lease renews and it lands on a different number. Ten minutes in the router settings now saves a repeat of this every few weeks.
Which driver to choose in the "Use" menu
That dropdown in the Add dialog is the single most consequential choice in the whole process. Apple has been removing bundled third-party printer drivers from macOS since Ventura, and its own advice now is to use AirPrint or get software straight from the manufacturer.
| "Use" setting | When you see it | What you get | Where it falls short |
|---|---|---|---|
| AirPrint / Secure AirPrint | Printer supports AirPrint | Printing, scanning, ink levels, correct paper sizes, nothing to install | Hides finishing controls like stapling, hole-punch and per-tray routing |
| Manufacturer driver (HP, Canon, Epson, Brother) | You installed the maker's software | Every feature the printer has, plus its own scan and maintenance tools | Background processes and an updater that nags |
| Generic PostScript / PCL | Fallback for shared office printers | Basic, dependable printing | No device-specific features; paper handling can be wrong |
| Gutenprint | Installed separately for old printers | Keeps 15-year-old models usable | Community-maintained; not every printer is covered |
For a home printer, AirPrint is the right answer far more often than not. It does what most people need without a large download or a menu-bar app you didn't ask for. Install the manufacturer's software only if you genuinely use a feature AirPrint drops, or you want its scanning interface.
If you just updated macOS and printing stopped
Worth calling out because it has been widespread on macOS Tahoe (macOS 26): after the upgrade, printers that worked for years stop responding, across USB, network and AirPrint, and across HP, Canon, Epson and Brother hardware.
In order:
- Re-check Local Network permission (Privacy & Security > Local Network). Upgrades routinely reset it.
- Reset the printing system (see the next-to-last section), then restart the Mac and add the printer again.
- Update the printer's firmware from its control panel or its built-in web page. Firmware from before the macOS release is a common culprit.
- Re-add over AirPrint rather than reinstalling an old driver. If you were on a manufacturer driver, remove that queue and add the AirPrint one.
- Power-cycle the router and printer together so network discovery re-establishes cleanly.
USB printers, and the cable nobody has
Plug the USB cable into the Mac. One of two things happens:
- macOS recognises it and either adds it straight away or shows a prompt. Accept it, and if it offers to fetch software from Apple or the manufacturer, let it.
- Nothing happens: open Printers & Scanners > Add Printer, Scanner or Fax, and the printer should be sitting in the Default tab with "USB" in the Kind column. Select it and click Add.
The modern snag is the cable. Most printers still have a square USB-B socket and expect a flat USB-A plug at the computer end. Every MacBook since 2016, and every current MacBook Air and Pro, has only USB-C. You need a USB-C to USB-B cable, or a cheap USB-C hub with a USB-A port. Nothing printer-specific is required.
If a printer worked over USB and you later move it to Wi-Fi, remove the USB entry and add the network one, or the Mac may keep sending jobs to the queue that is no longer plugged in.
Why the Wi-Fi printer keeps dropping off
The usual reason: its IP address changed. Your router leases addresses for a set time (DHCP), and when the lease renews, or the printer sleeps through a renewal, it can come back on a different one. The Mac's queue still points at the old address and jobs go nowhere.
Fixes, sturdiest first:
- DHCP reservation on the router. Ties the printer to one address permanently. This is the proper fix.
- Static IP set on the printer itself. Works, but choose an address outside the router's DHCP range or you will get clashes.
- Re-add the printer by its Bonjour name rather than a hard IP. The name copes with address changes better, though not flawlessly.
Also check: power-saving set too aggressively on the printer (many let you disable deep sleep or lengthen the timer), and a dual-band router bouncing the printer between 2.4GHz and 5GHz. Locking the printer to the 2.4GHz band in its network settings usually steadies the connection and gives it more range to the router.
Setting the default printer and getting A4 right
Two settings on the main Printers & Scanners screen that people skip:
Default printer. The dropdown near the bottom. Set it to "Last Printer Used" if you move between locations, or pin one printer if you always send to the same place.
Default paper size. The dropdown beside it. On a Mac set to a UK region this should already say A4. But Macs first set up with a US region, or migrated from an older US machine, quietly default to US Letter. Letter is 216 by 279 mm against A4's 210 by 297 mm, so your margins shift and the last line or two can be clipped. Set it to A4 here and apps follow unless you override it for a specific document.
Removing a printer, or resetting the lot
Remove one printer: select it in the list and click the "-" (Remove) button. That clears its queue and settings.
Reset everything: right-click (or Control-click) anywhere in the printer list and choose Reset printing system. This wipes every printer, queue and stored job and returns CUPS (the Common UNIX Printing System that macOS prints through) to a clean state. Use it when printers are duplicated, stuck, or misbehaving in a way that removing them one at a time doesn't fix. You will re-add your printers afterwards, so have their names or IP addresses to hand first.
If you want finer control, macOS still includes the full CUPS web interface at localhost:631, switched off by default. Turn it on from Terminal with cupsctl WebInterface=yes, then manage queues, read detailed error logs, and pause or reorder jobs with more precision than System Settings offers.
Once it's on the Mac: printing from your iPhone or iPad
You don't add it again. An AirPrint printer on your Wi-Fi shows up on its own in the iOS Share sheet under Print, as long as the iPhone or iPad is on the same network. If it doesn't appear, the phone is usually on the guest network or a different band, and the same discovery checks from earlier apply.
Related guides
How to Add a Brother Printer to a Mac. The model-specific version, including where Brother's own driver still earns its place over AirPrint.
How to Connect a Printer to a Laptop or Computer. The same job on Windows, over USB and over Wi-Fi.
Why Your Printer Won't Connect to Wi-Fi (and the Fix That Actually Works). For the step that has to happen before the Mac can see the printer at all.
Why Your Computer Suddenly Can't Find the Printer. When a printer that worked for months drops off every device at once.
How to Change Your Default Printer on Windows, Mac and Chromebook. Setting and locking the printer every app prints to.
How to Connect Your Phone to a Printer: iPhone & Android. Printing from a handset on the same network.